ANASTASIA BEVERLY HILLS CONTOUR KIT
One of the most hotly-awaited products of the year is the {Anastasia Beverly HillsPro Series Contour Kit}, launching on Cult Beauty at the beginning of May (sign up to the waitlist on the product details page to get first dibs). I find contouring rather a daunting task myself, but it's big news right now so I asked the great lady herself for some tips on how to avoid looking like you're just about to go paint-balling:
{Anastasia Soare} Contouring and highlighting is really for any woman who is looking to enhance her best features. It really is the oldest trick in the book when it comes to celebrity makeup, and the reason that some celebrities look like they've undergone such a drastic transformation in so little time. Anyone can play with contouring to bring about more refined cheek bones, a more sculpted nose, or a defined jawline for instance.
{AS} Contouring should always be done as a last step in your face/complexion routine. If you usually wear moisturizer and foundation, apply this and let it set before starting your contour.
{AS} I would use a smaller {fluffy brush} and a domed {contouring brush} with a small amount of tension in the bristles when contouring. The domed brush will help you apply the contour to your cheekbones and face uniformly, while still giving you the ability to blend. Use a small, fluffy brush for applying contour and highlighter in detailed areas like the nose and around the eyes. I always suggest blending with a good quality, {natural brush} to blur out lines and leave you with a natural finish.
{AS} There is no ready-made answer to create the perfect look! For contouring, you always want to start with a shade 2 to 3 shades darker than your skin tone and contour under your cheekbones and anywhere else you want to chisel your features. For highlighting, pick a shade that goes with your skin tone but is one to two shades brighter to add definition to the contour and bring focus to your best features.
{AS} Over-applying contour powder creates a look that is unnatural and can easily turn cakey! Start out with small amounts of this concentrated pigment, tap the brush on the side of your hand before touching your skin and make sure to blend, blend, blend for a naturally sculpted look.
{AS} The kit really is for everyone. I find that clients who are new to shaping their brows love it because it ensures the proper application and shaping of powder each time. I also have many clients who swear by at is part of their daily routine because it delivers perfect results. There is no such thing as a “bad brow day” when you’re using the kit! The most marked differences you will see with the kit are on clients with very wild eyebrows or very over-tweezed.
{AS} You always need a good {brow brush} with an attached spooley comb for blending and a good {liner brush}. My {Mini Duo Brush} can double for both. I always use a synthetic brush for applying any type of waterproof make up and a softer more {natural brush} for blending out eye shadows and pigments.
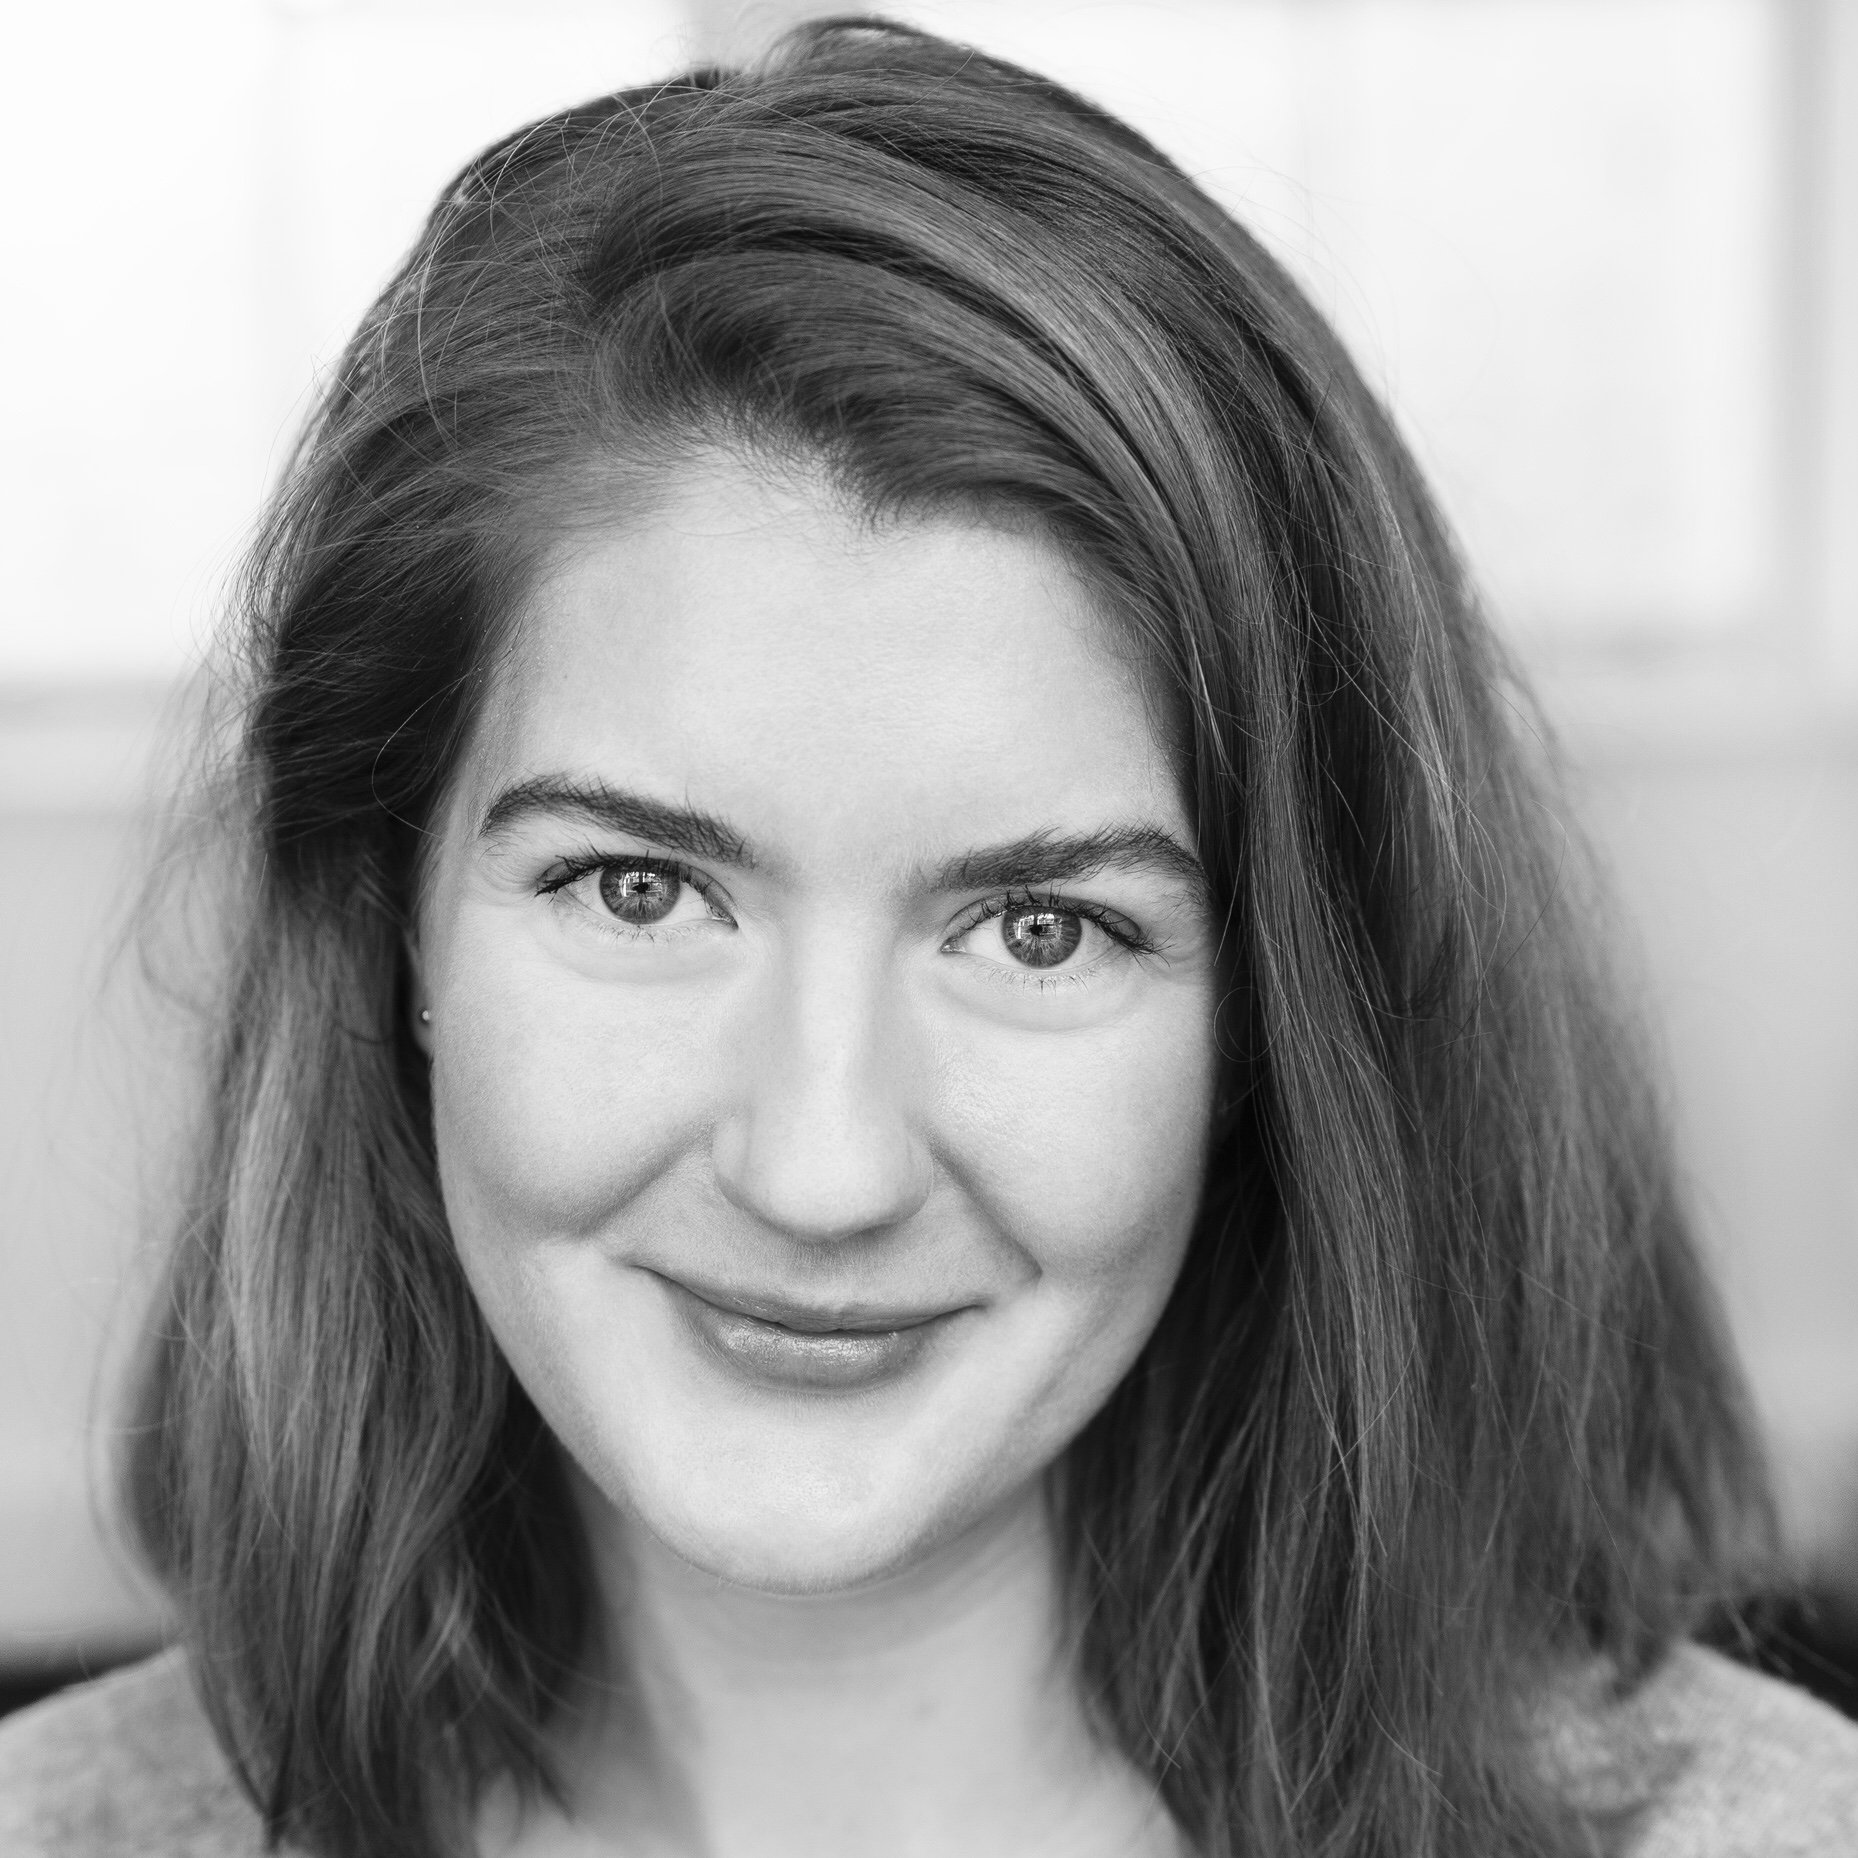
Cult Beauty’s Content Editor and a Cult Beauty OG, Verity loves nothing more than the marriage of language and lip balm. A quintessential Libran, she’s a self-professed magpie for luxury ‘must-haves' and always pursuing the new and the niche — from the boujee-est skin care to cutting-edge tech. Balancing an urge to stop the clock with her desire to embrace the ageing process (and set a positive example for her daughter), Verity's a retinol obsessive and will gladly share her thoughts about the time-defying gadgets, masks and treatments worth the splurge...
