QUICK GUIDE TO CONTOURING WITH NUDESTIX
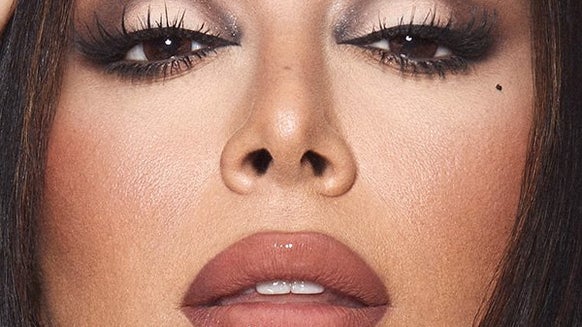
So contouring is totally a thing but if (like me), your face is fifty shades of alabaster and you're freakin' TERRIFIED of putting dark brown powder near your visage then {NudeStix} new {Sculpting Pencils} are for you (and me) - and our gorgeous Digital Marketing Exec Chikay, who generously did a demo (and has the wickedest hair).
Equipped with {Sculpting Pencil} in Light/Medium, she used the pale end to highlight high points (if you're stuck - just envisage an Ordnance Survey map of your face). Draw a line down the ridge of your nose, extending up towards your forehead - like an upside-down bird leg.
Draw an 'X' on your chin, then two 'Vs' beneath your eyes and diagonal lines along the top of each cheekbone - if yours are less than obvious, just feel for the stickest-outiest bit.
Swapping to the darker shade (just flip the crayon over), apply contour to the hollows of your cheeks (the bit beneath the cheekbones), then to the temples, along the jawline and down either side of your nose - to make your face appear more three dimensional.
Blend with fingertips or dampened Beautyblender {Micro Minis} to achieve a super subtle, soft focus effect. Perfect for contouring novices!

Cult Beauty’s Content Editor and a Cult Beauty OG, Verity loves nothing more than the marriage of language and lip balm. A quintessential Libran, she’s a self-professed magpie for luxury ‘must-haves' and always pursuing the new and the niche — from the boujee-est skin care to cutting-edge tech. Balancing an urge to stop the clock with her desire to embrace the ageing process (and set a positive example for her daughter), Verity's a retinol obsessive and will gladly share her thoughts about the time-defying gadgets, masks and treatments worth the splurge...