This product is coming soon! Add to your wishlist to receive an in stock email notification
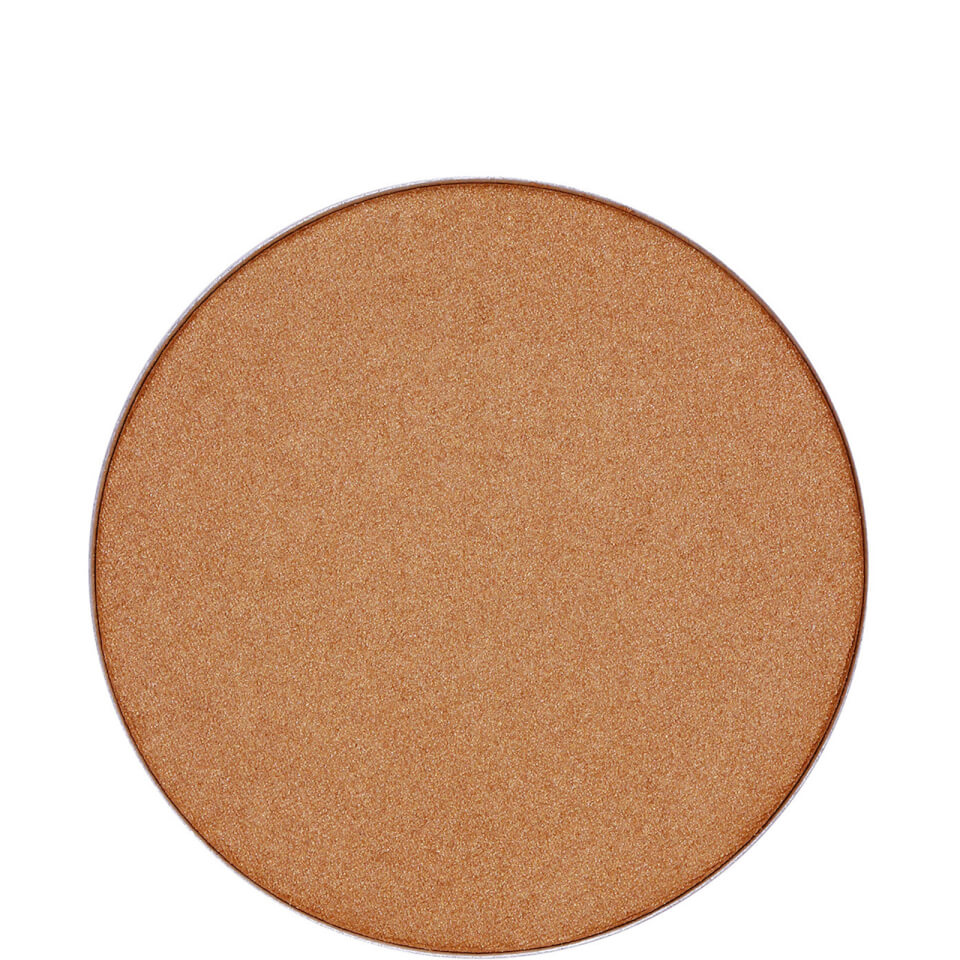
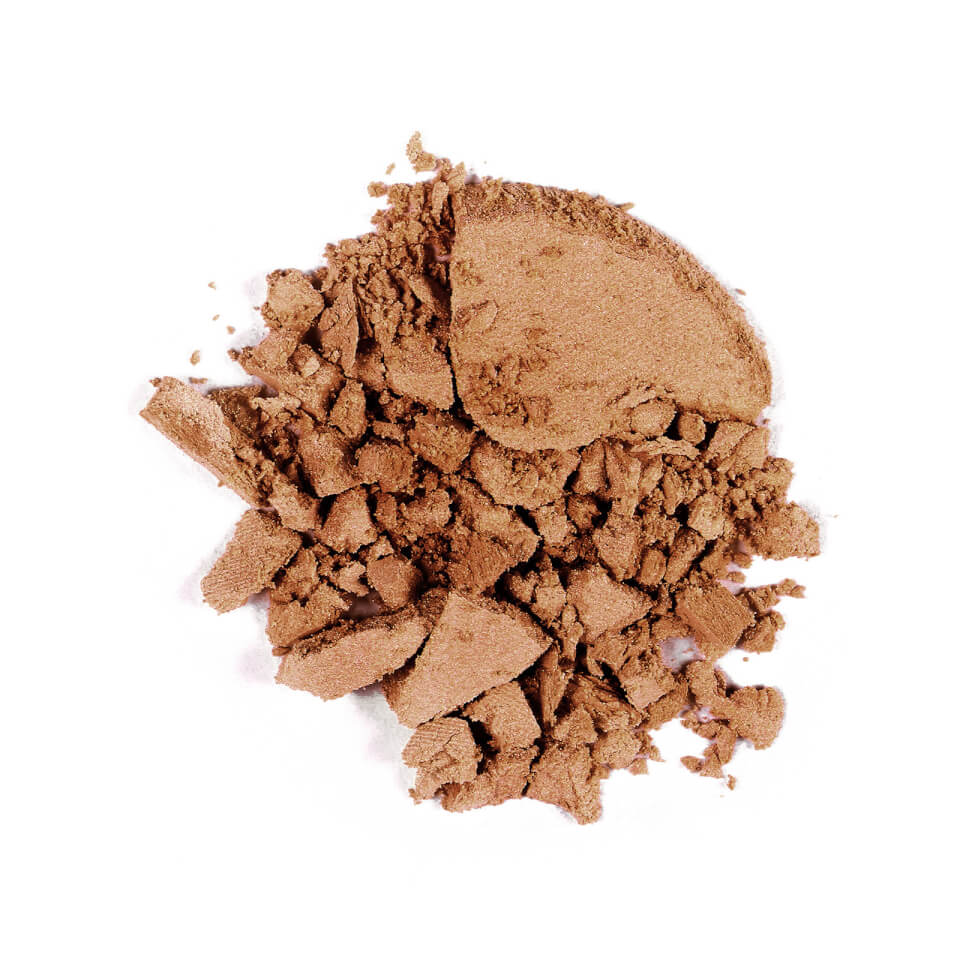
Image 1 of 2
For a step-by-step diagram, click {here}.
1. Drag a line of contour 2-3 shades darker than your skin tone at an angle from top of the ear to corner of the mouth (going lighter as it reaches the mouth area so the contour line can disappear before hitting the laugh line). This step chisels the hollows of the cheeks.
2. Contour the temples and top of the forehead (along hairline) to minimise a large forehead and create a '3D' effect.
3. Apply the same powder along the jawline under the ear and connecting the the chin, to chisel the jawbone.
4. Blend the jaw contour down to the neck to avoid a harsh line.
5. Starting at the inner corner of the eyebrow, use a narrow brush and drag a contour line down the bridge of the nose. Do the same on the other side of the nose so you have two parallel lines running down the bridge of the nose.
6. Apply contour on the bottom of the nose to connect the two parallel lines and to make the nose appear shorter if you have a long nose.
7. Highlight the cupid's bow above centre of lip to create a pout, and highlight centre area of chin to balance the face.
8. Highlight under eyes, across top of cheekbones, and down toward apple of cheeks to brighten under eyes and make the cheekbones appear raised.
9. Highlight the laugh line area (from beside the nostril down to corner of the mouth) to make them appear less deep of shadowy.
10. Use what's left on the brush to clean up under the cheek contour and sharpen.
11. Highlight between brows to centre of forehead, and fan toward the arch of the brows to make the brows appear bolder and clean.
12. Use a shimmery highlight to dust lightly all over the previously highlighted areas for a pop of shine.
13. Remember, do not add shimmer to laugh lines, wrinkles, or areas within extremely visible pores of bumps.
If you're already the proud owner of {Anastasia Beverly Hills}' Pro Series Contour Kit, you can now replace your 'most used' shades (or build a bespoke palette) thanks to Contour Refills individual, densely-pigmented powders, in a spectrum of colours to complement all complexions. Ultra-finely milled, these blend together effortlessly to create the illusion of cut-glass cheekbones, streamline larger-than-youd-like noses and even disguise dark circles, counteract dullness and lend warmth to sallow-toned skins. Available in 28 matte contouring, sculpting and subtly pearlescent shades for highlighting, the utterly-buttery textures lend instant definition blurring together beautifully to enhance your favourite features. Whats more, these double as stunning neutral eyeshadows just choose your favourite shades to curate the ultimate, no make up make up palette.
Click {here} for a step-by-step contouring tutorial by top make up artist (and Instagram sensation) @dressyourface.
Brand
Transparency lies at the heart of our philosophy which is why we have partnered with tech-platform – Provenance – to cut through the industry ‘noise’ and equip you with key facts that matter. A 'proof point' with a green tick means a third party has verified the accuracy of the statement whereas no green tick means that there isn't independent confirmation (yet!), but that the brand has still supplied substantiating evidence (which you can view yourself). Discover the proof points for this product below.

Quantity
For a step-by-step diagram, click {here}.
1. Drag a line of contour 2-3 shades darker than your skin tone at an angle from top of the ear to corner of the mouth (going lighter as it reaches the mouth area so the contour line can disappear before hitting the laugh line). This step chisels the hollows of the cheeks.
2. Contour the temples and top of the forehead (along hairline) to minimise a large forehead and create a '3D' effect.
3. Apply the same powder along the jawline under the ear and connecting the the chin, to chisel the jawbone.
4. Blend the jaw contour down to the neck to avoid a harsh line.
5. Starting at the inner corner of the eyebrow, use a narrow brush and drag a contour line down the bridge of the nose. Do the same on the other side of the nose so you have two parallel lines running down the bridge of the nose.
6. Apply contour on the bottom of the nose to connect the two parallel lines and to make the nose appear shorter if you have a long nose.
7. Highlight the cupid's bow above centre of lip to create a pout, and highlight centre area of chin to balance the face.
8. Highlight under eyes, across top of cheekbones, and down toward apple of cheeks to brighten under eyes and make the cheekbones appear raised.
9. Highlight the laugh line area (from beside the nostril down to corner of the mouth) to make them appear less deep of shadowy.
10. Use what's left on the brush to clean up under the cheek contour and sharpen.
11. Highlight between brows to centre of forehead, and fan toward the arch of the brows to make the brows appear bolder and clean.
12. Use a shimmery highlight to dust lightly all over the previously highlighted areas for a pop of shine.
13. Remember, do not add shimmer to laugh lines, wrinkles, or areas within extremely visible pores of bumps.
If you're already the proud owner of {Anastasia Beverly Hills}' Pro Series Contour Kit, you can now replace your 'most used' shades (or build a bespoke palette) thanks to Contour Refills individual, densely-pigmented powders, in a spectrum of colours to complement all complexions. Ultra-finely milled, these blend together effortlessly to create the illusion of cut-glass cheekbones, streamline larger-than-youd-like noses and even disguise dark circles, counteract dullness and lend warmth to sallow-toned skins. Available in 28 matte contouring, sculpting and subtly pearlescent shades for highlighting, the utterly-buttery textures lend instant definition blurring together beautifully to enhance your favourite features. Whats more, these double as stunning neutral eyeshadows just choose your favourite shades to curate the ultimate, no make up make up palette.
Click {here} for a step-by-step contouring tutorial by top make up artist (and Instagram sensation) @dressyourface.
Brand
Transparency lies at the heart of our philosophy which is why we have partnered with tech-platform – Provenance – to cut through the industry ‘noise’ and equip you with key facts that matter. A 'proof point' with a green tick means a third party has verified the accuracy of the statement whereas no green tick means that there isn't independent confirmation (yet!), but that the brand has still supplied substantiating evidence (which you can view yourself). Discover the proof points for this product below.
Customer Reviews
5 reviews
5
4
3
2
1
Top Customer Reviews
Where reviews refer to foods or cosmetic products, results may vary from person to person. Customer reviews are independent and do not represent the views of The Hut Group.